

- December 7, 2025
🍫🎄 Decadent Hot Chocolate Rice Krispie Treats: The Ultimate Holiday Dessert! 🎅🎁
✨ Introduction: A Festive Twist on a Classic Comfort!
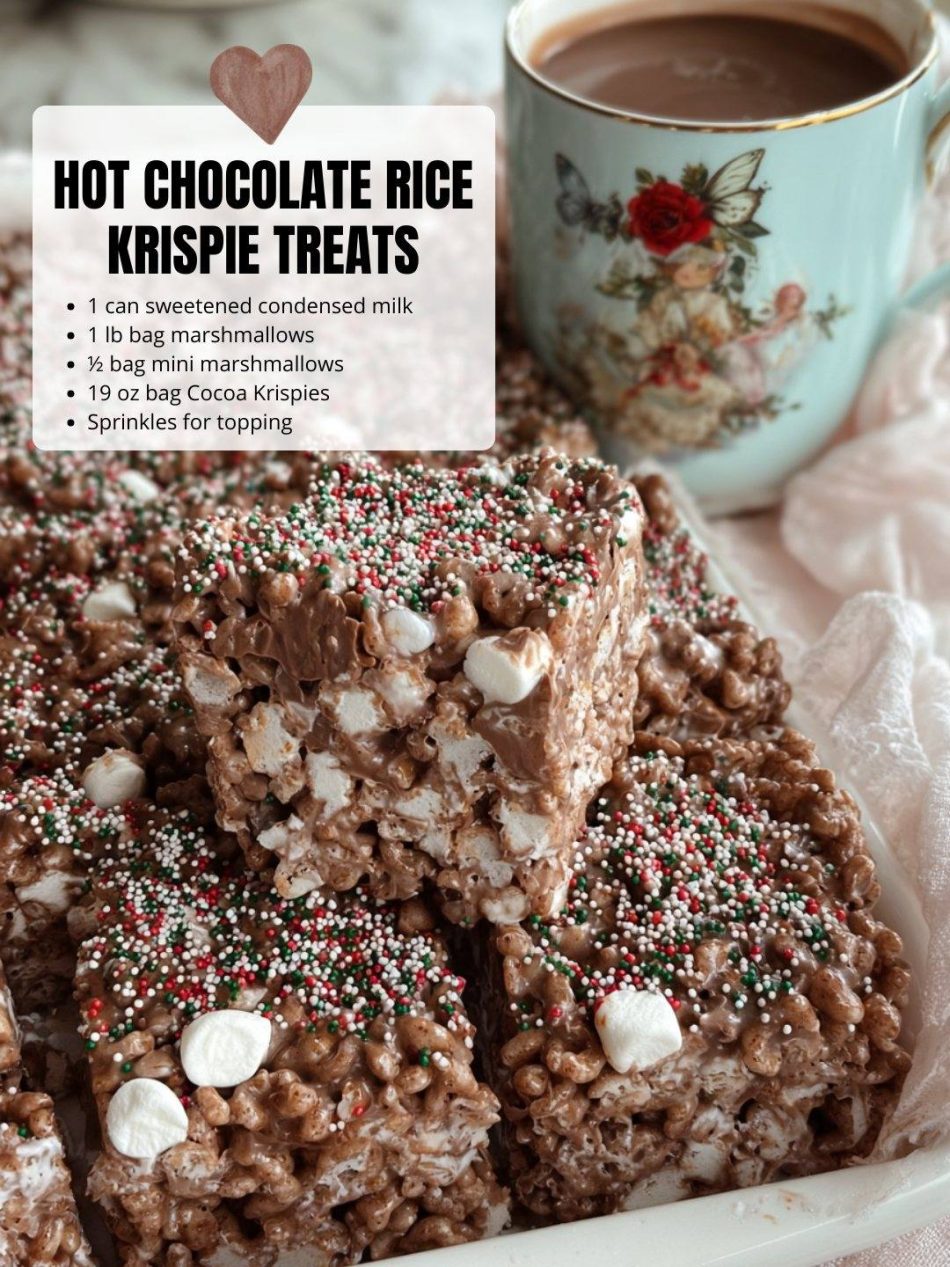
Are you ready to elevate your holiday treat game? Forget the plain old Rice Krispie squares! Get ready to dive into the rich, chocolatey, and delightfully chewy world of Hot Chocolate Rice Krispie Treats! 🤤 Inspired by the cozy comfort of a steaming mug of hot cocoa on a cold winter's night, these treats combine the classic crunch you love with a luscious, marshmallow-studded chocolate base. They are incredibly easy to make, require no baking, and are guaranteed to be a crowd-pleaser at any holiday party, cookie exchange, or cozy family gathering. 🥳
This recipe transforms simple ingredients into an extraordinary dessert. The secret? A generous mix of Cocoa Krispies, two kinds of marshmallows for ultimate chewiness, and the creamy richness of sweetened condensed milk, giving it that decadent hot chocolate flavor profile. Topped with festive sprinkles, they aren't just a snack—they're a celebration! 🎉
Why you'll LOVE this recipe:
-
🚫 No-Bake Wonder: Perfect for busy holiday schedules!
-
🍫 Intense Chocolate Flavor: Thanks to the Cocoa Krispies and a rich base.
-
💖 Super Chewy Texture: A combination of large and mini marshmallows ensures maximum gooeyness.
-
⏱️ Quick & Easy: Ready in under 30 minutes (plus cooling time)!
-
📸 Photo-Worthy: Adorned with sprinkles, they look as good as they taste!
Let's gather our ingredients and start spreading some holiday cheer, one square at a time! 🧑🍳
🛒 Ingredients & Equipment: What You'll Need!
To create these spectacular Hot Chocolate Rice Krispie Treats, you'll need a few simple components. We are scaling this recipe up slightly to ensure plenty of festive treats for everyone!
📝 Ingredients List:
| Ingredient | Quantity (Approximate for a large batch) | Notes |
| Sweetened Condensed Milk | 1 (14-16 oz) can | Provides richness and sweetness – don't substitute! |
| Large Marshmallows | 1 lb bag (about 40 large) | For the main binding and gooey texture. |
| Mini Marshmallows | 1/2 bag (about 5 oz) | Stirred in at the end for pockets of visible, unmelted chewiness! |
| Cocoa Krispies Cereal | 19 oz bag (or about 12-14 cups) | The foundation of our chocolate flavor and crunch. |
| Butter (Unsalted) | 1/4 cup (1/2 stick) | For melting the marshmallows and preventing sticking. |
| Vanilla Extract (Optional but Recommended) | 1 teaspoon | Adds a depth of flavor. |
| Festive Sprinkles | As needed for topping | Choose holiday-themed colors (red, white, green) for the perfect finish! 🔴⚪🟢 |
🛠️ Essential Equipment:
-
Large Stockpot or Dutch Oven: A big pot is essential for mixing the cereal with the sticky marshmallow mixture.
-
9×13-inch Baking Pan: The standard size for Rice Krispie treats.
-
Parchment Paper or Aluminum Foil: Crucial! Lining the pan ensures easy removal.
-
Spatula: A sturdy, non-stick spatula for stirring and pressing.
-
Measuring Cups & Spoons: For accurate ingredient portions.
-
Butter or Non-Stick Spray: For greasing the spatula and your hands!
👩🍳 Step-by-Step Instructions: Creating the Cocoa Magic!
Follow these easy steps to guarantee a perfect batch of gooey, crunchy, chocolatey goodness every time!
Phase 1: Preparation & Melting
-
Prep Your Pan (Crucial!): Line your 9×13-inch baking pan with parchment paper or aluminum foil, leaving an overhang on the sides. This acts as a sling for easy removal later. Lightly grease the paper/foil with butter or non-stick spray. Set aside. 🧈
-
Melt the Butter: In your large stockpot, melt the 1/4 cup of butter over medium-low heat. This temperature is key to prevent the butter from burning. 🌡️
-
Add the Marshmallows: Once the butter is melted and foamy, add the 1 lb bag of large marshmallows. Stir continuously with a rubber spatula until the marshmallows are completely melted and the mixture is smooth and gooey. Be patient; low and slow is the way to go! 🔥
-
Introduce the Richness: Remove the pot from the heat. Stir in the can of sweetened condensed milk and the optional vanilla extract. Mix until everything is beautifully combined and the mixture is a smooth, creamy, rich chocolate color. This is the “hot chocolate” base! ☕
Phase 2: The Mixing & Setting
-
Cereal Time: Gently pour the entire 19 oz bag of Cocoa Krispies cereal into the marshmallow mixture.
-
Fold it In: Using your sturdy spatula, quickly but carefully fold the cereal into the marshmallow mixture. Work fast, as the mixture will start to cool and stiffen. Ensure every single piece of cereal is coated in the chocolatey goo! 🍫
-
Add the Mini Marshmallows: Once the cereal is about halfway mixed, add the 1/2 bag of mini marshmallows. Continue folding until they are just incorporated. This step adds those beautiful pockets of soft, unmelted marshmallow that mimic the mini marshmallows floating in a cup of hot chocolate! Look at that texture! 😍
-
Pressing into the Pan: Transfer the entire sticky mixture into your prepared 9×13-inch pan.
-
The Gentle Press: Here's a tip: lightly grease your hands or the back of your spatula/a piece of wax paper. Gently and evenly press the mixture into the pan. DO NOT compact the mixture tightly. Pressing too hard results in a rock-hard, tough treat. A gentle, even press is all you need for a perfectly tender, chewy square. ✨
-
Sprinkle Time! Immediately and generously sprinkle the top with your festive holiday sprinkles while the mixture is still warm and sticky. Press them lightly into the surface so they adhere. 🔴🟢⚪